Photogrammetry in the Museum

Satakunnan Museo sai helmi- ja maaliskuun ajaksi vieraan Tšekeistä. Tomáš Linhart saapui Erasmus+ -harjoitteluun museon näyttelytiimiin, tehtävänään mm. kaupunkipienoismallin digitointisuunnitelman tekeminen sekä museoesineiden 3D-digitointi. Poriin Tomáš saapui Ústí nad Labemin kaupungista, Jan Evangelista Purkyněn yliopistosta ja Monument Documentation -opintojensa parista. Tomáš kirjoitti museon blogiin kokemuksiaan kaupunkipienoismallin digitoimisesta.
At the beginning of 2024, the idea of digitising a model of the city of Pori in 1852 was born.
The first task was to draw up a plan for the digitisation, where I presented the museum with the options of different 3D scanners, and after careful consideration we ordered one of them – Revopoint Range 2.
But what happened? The transport of the scanner got stuck. We had to resort to the classic method, photogrammetry.
Photogrammetry is the process of photographing an object from all angles and then using a computer to create a 3D model. This can be done in two ways: by composing the photographs or by analysing the object from the video.
There are several types of editing software. One runs in the browser, where the user uploads their photos (or video) and the AI rearranges it into a model. This is more useful for smaller objects. For larger objects, it’s better to use Meshroom, for example, which composes photos using the computing power of the machine it’s running on. Meshroom users can also rearrange photos as they wish. The most widely used browser-based photogrammetry software is Polycam. Unfortunately, Polycam is limited to a certain number of photos, so it’s better to own a powerful computer that can handle large volumes of photo processing.
However, firstly there were problems with photogrammetry in the form of reflections from the glass around the model itself. We had to come up with something that would allow us to move the camera over the model.
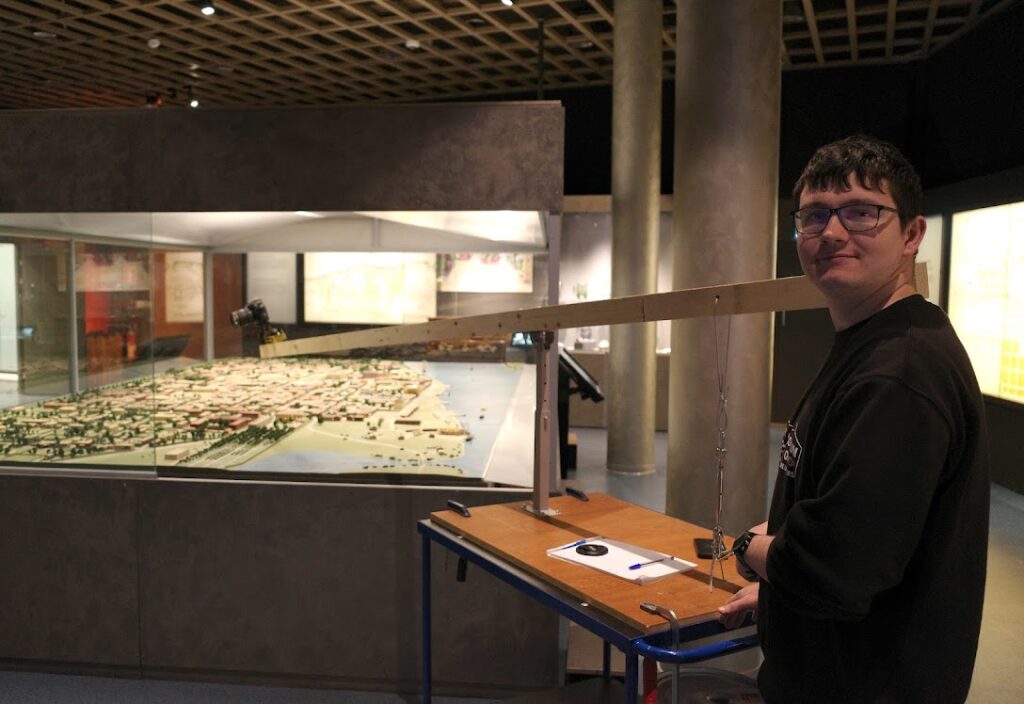
To avoid the hassle of getting a telescopic camera mount or a simple selfie stick for the phone, we created our own version of a moving camera mount from things we found in the museum.
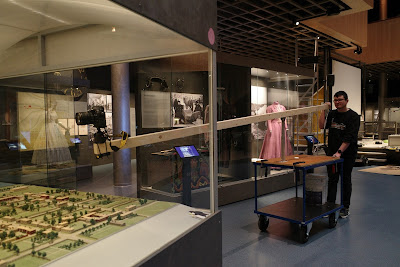
After a series of futile photogrammetric attempts to capture the model correctly, we have probably identified the real cause. The model itself is too small and too detailed for photogrammetry. Or maybe we don’t have the efficient computing power to process such a huge number of photographs properly, who knows…
In addition to the attempts to create a 3D model of Pori, we decided to create 3D models of various exhibits from the warehouse or exhibition. Examples include an anatomical doll from the 17th century and a wooden statue of John the Baptist.
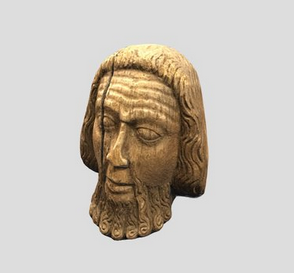
At least 40 photos from all angles and zoom options are needed to capture all the details on the object. The problem arises when the object is all white. In this case it is better to use a laser scan, which also copies the shape. If the program is shown a photo of an all-white object, it will assume that only one side has been scanned, and the program will render only one ”bulging” side of the object, not the whole.
Satakunnan Museo uses the globally available web application SketchFab to present the models.
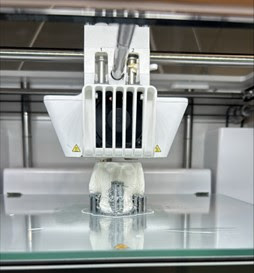
After creating a few 3D models, the next step was to rent time at the 3D printer at the local library and try 3D printing a statue of Johannes Kastaja. The Pori City Library owns an Ultimaker S3 3D printer, so we booked it for a few hours and got to work. The entire 3D printing process took a total of 1 hour and 40 minutes.
The 3D printed figure of Johannes Kastaja now adorns Johanna’s office and hopefully more photogrammetric adventures await us.
Artikkelin teksti: Tomáš Linhart. Kuvat: Timo Nordlund ja Tomáš Linhart.
